QR Code Stickers & Labels: Materials, Sizes & Weatherproofing (2026)
A QR code sticker is only as good as the material it is printed on and where you stick it. Here is how to choose materials, sizes, and weatherproofing so your QR code stickers scan reliably indoors, outdoors, and for years.

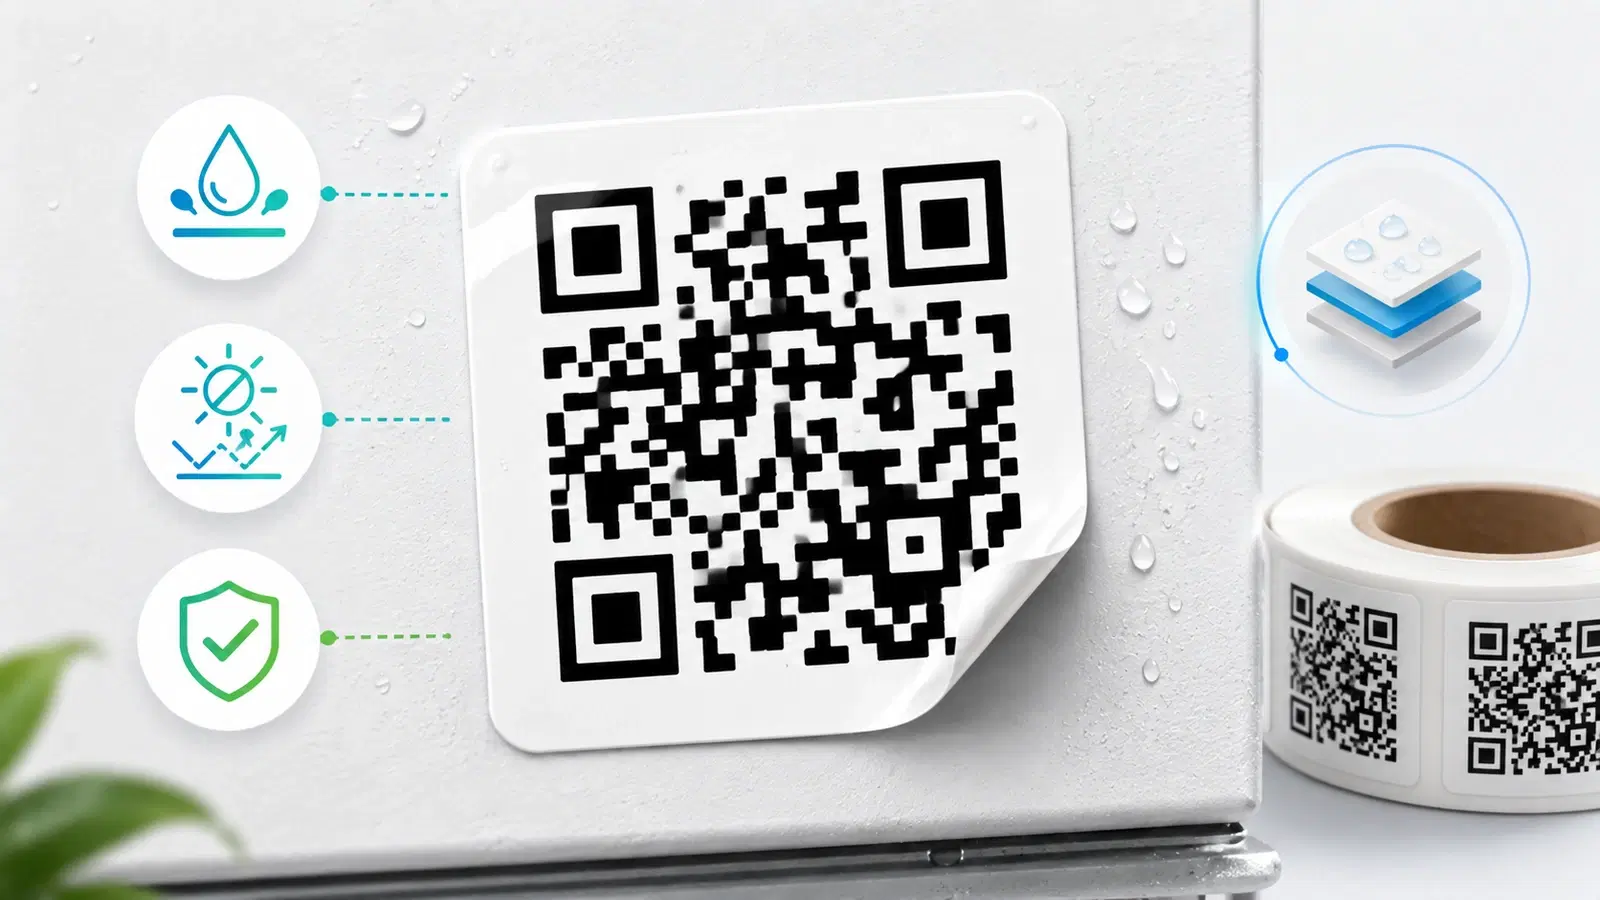
QR code stickers and labels are everywhere: on product packaging, equipment, restaurant tables, shop windows, parking signs, and shipping boxes. They are one of the most practical ways to put a code into the physical world. But a sticker introduces variables a code on paper never faces: the material it is printed on, the surface it sticks to, and the weather it endures. Get those wrong and a sticker peels, fades, or stops scanning long before you expected.
The difference between a QR sticker that scans reliably for years and one that fails in months usually comes down to a few practical choices: the right material, the right size, weatherproofing when needed, and a suitable adhesive. None of it is complicated, but all of it matters, especially for anything outdoors or handled often.
This guide covers how to choose materials, sizes, and weatherproofing for QR code stickers and labels in 2026, so yours keep working wherever they end up. It builds on our size guide and print vs digital guide, focused specifically on the sticker and label format.
Choosing the Right Material
The material a sticker is printed on determines how long it lasts and how well it scans over time. Match the material to where the sticker will live.
Paper labels (indoor, short-term). Standard paper stickers are cheap and fine for indoor, short-term uses: a temporary promotion, a code on a box that will be opened soon, an event label. They are not durable against moisture, handling, or sunlight, so do not use them anywhere they will be touched often, get wet, or sit outdoors.
Vinyl (durable, indoor and outdoor). Vinyl stickers are the workhorse for durability. They resist moisture, handling, and wear far better than paper, and outdoor-grade vinyl holds up to weather. For anything that needs to last, be handled, or go outside, vinyl is usually the right choice.
Laminated labels (extra protection). Adding a laminate layer over a printed label (paper or vinyl) protects the print from scratches, smudging, moisture, and fading. Lamination is a simple way to significantly extend a sticker's scannable life, and it is worth it for anything important or long-lived.
Specialty materials. For demanding environments there are specialty options: polyester and polypropylene labels for chemical or abrasion resistance, metal-safe or high-temperature labels for industrial equipment, and removable adhesives for temporary placement. If your use is harsh, ask a label supplier for a material rated for that specific environment.
The guiding principle. Cheap paper indoors and short-term; durable vinyl (ideally laminated) for anything handled, wet, outdoor, or long-lived. Spending a little more on material is far cheaper than reprinting and re-applying stickers that failed early. For asset and inventory labels specifically, see QR codes for inventory and asset tracking.
- Paper: cheap, indoor, short-term only (not for moisture, handling, or sun)
- Vinyl: durable for handling and outdoor use, the reliable default for longevity
- Laminated: adds scratch, moisture, and fade protection, extends scannable life
- Specialty (polyester, high-temp, metal-safe): for harsh or industrial environments
- Match material to environment; durable material is cheaper than reprinting
Getting the Size Right
A sticker has to be large enough to scan at the distance people will scan it from, and that distance varies a lot by placement.
Size scales with scanning distance. The core rule is that the farther away people will scan from, the bigger the code must be. A sticker scanned from a few centimeters (on a product in hand) can be small; a sticker on a window or sign scanned from across a room or a sidewalk must be much larger. Undersizing is one of the most common reasons a sticker will not scan. See the full size guide for specifics.
Typical sticker placements and sizing logic:
- Product and packaging labels (scanned in hand): can be relatively small, since the phone comes close. Still, do not go so small that print quality or the quiet zone suffers.
- Table tents and countertop labels (scanned from sitting distance): medium sized, comfortably readable from where a person sits.
- Window and door stickers (scanned from a step or two away): larger, so a passerby can scan without pressing their phone to the glass.
- Outdoor signs and wall stickers (scanned from several feet): largest, sized generously for the distance.
Do not forget the quiet zone. Whatever the size, keep the clear margin (quiet zone) around the code. On a small sticker it is tempting to run the code to the edges, but the code needs that breathing room to scan. Design the sticker so the quiet zone is part of it.
Print crisp at final size. Use a high-resolution or vector file so the code is sharp at the printed size, especially for small stickers where blur is most damaging. See SVG vs PNG. A blurry small sticker is a guaranteed scanning problem.
Pro Tip
Match sticker size to the real scanning distance, not to the space you have. A window sticker meant to be scanned from a couple of steps away needs to be much larger than a product label scanned in hand. When unsure, size up: a slightly-too-big code always scans, while a slightly-too-small one at distance often does not.
Weatherproofing for Outdoor Use
Outdoor stickers face sun, rain, temperature swings, and handling. Without protection, they fade and peel, and a faded code loses the contrast it needs to scan. Weatherproofing keeps them working.
The two enemies: UV and moisture.
- UV (sunlight) fades printed ink over time. A faded code loses contrast, and contrast is what scanners read. This is the most common way an outdoor code slowly dies, it does not vanish, it just fades until it no longer scans.
- Moisture (rain, humidity, washing) can smear unprotected print, degrade paper, and lift adhesive.
How to weatherproof:
- Use outdoor-grade vinyl rather than paper. It resists moisture and handling and is the baseline for any outdoor sticker.
- Add UV-resistant lamination or a UV-stable print. A UV-protective laminate (or UV-resistant inks) dramatically slows fading, keeping contrast, and scannability, for far longer outdoors.
- Laminate for a moisture and scratch barrier. Lamination also seals against rain and resists abrasion from handling and cleaning.
- Choose a weather-appropriate adhesive (see below) so the sticker stays put through temperature swings and damp.
Placement helps too. Where you can, place outdoor codes where they get some shelter from direct, all-day sun and driving rain, under an overhang, on a shaded face, behind glass. Reducing direct exposure extends life on top of the material choices.
The payoff. An outdoor code on plain paper may fade past scanning in weeks or months. The same code on UV-laminated outdoor vinyl, sensibly placed, can keep scanning for years. For outdoor use, weatherproofing is not optional; it is the difference between a code that lasts and one that quietly dies in the sun.
Important
The sneakiest outdoor failure is fading, not peeling. UV from sunlight slowly bleaches the print until the code loses the contrast scanners depend on, so it stops working while still looking "there." Plain paper or non-UV-protected stickers outdoors can fade past scanning in weeks. UV-resistant lamination on outdoor vinyl is what prevents this.
Adhesive, Surface, and Testing
The last practical pieces: making the sticker stay put, and confirming it scans before you commit to a big batch.
Match the adhesive to the surface and need.
- Permanent adhesive for stickers meant to stay indefinitely (equipment, signage, packaging).
- Removable adhesive for temporary placement you will want to peel cleanly later (short promotions, seasonal signs).
- Surface matters: rough, dusty, oily, or very cold surfaces weaken adhesion. Clean and dry the surface before applying. Some materials (like textured walls or certain plastics) hold stickers poorly, so choose an adhesive rated for them.
Mind the surface behind the code, too. Applying a sticker onto a curved surface (a bottle, a pipe) can warp the code and stop it scanning. Keep QR stickers on flat or gently curved areas, and if a surface is curved, use a smaller code that stays readable across the curve. Distortion is a real scanning killer.
Contrast holds on the material. Confirm the printed code keeps strong dark-on-light contrast on the actual material; some materials or finishes (glossy, metallic, tinted) can affect how the print reads. A quick print test catches this.
Always test before a batch. Before printing hundreds of stickers, order or print a sample and: stick it on the real surface, in the real location, and scan it with a few phones, ideally after it has been there a little while (and, for outdoor, after some exposure if you can). This one step catches material, size, contrast, adhesion, and placement problems before they multiply across a whole run. See why codes fail to scan.
Use dynamic codes on your stickers. Because stickers are physical and meant to last, put dynamic codes on them so you can change the destination later without re-stickering everything. A permanent, editable code is exactly what a long-lived sticker needs. See how to make a permanent QR code.
Conclusion
A QR code sticker succeeds or fails on a few practical choices. Match the material to the environment: cheap paper for indoor short-term use, durable vinyl (ideally laminated) for anything handled, wet, outdoor, or long-lived. Size the code to the real scanning distance, larger for windows and signs, and always keep the quiet zone and print it crisp at final size.
For outdoor stickers, weatherproofing is essential, because the usual failure is fading, not peeling: UV slowly bleaches the print until it loses the contrast scanners need. Outdoor vinyl with UV-resistant lamination, plus sensible placement out of relentless sun and rain, turns a sticker that would die in weeks into one that scans for years. Then match the adhesive to the surface, keep codes on flat areas to avoid distortion, and confirm contrast holds on the real material.
Finally, test a sample on the real surface in the real location before printing a batch, and put dynamic codes on your stickers so you can update the destination without re-applying them. Get these right and your QR stickers will scan reliably wherever they live, for as long as you need them to.
Related reading:
Create permanent QR codes for your stickers with QRForever. Start a 7-day full-access trial, no credit card needed. Dynamic codes you can update anytime, exported crisp for durable printing.
Explore QRForever Solutions
Ready to Create Your Own QR Codes?
Start creating dynamic QR codes for your business today. Track analytics, update content anytime, and never reprint again.
Related Articles
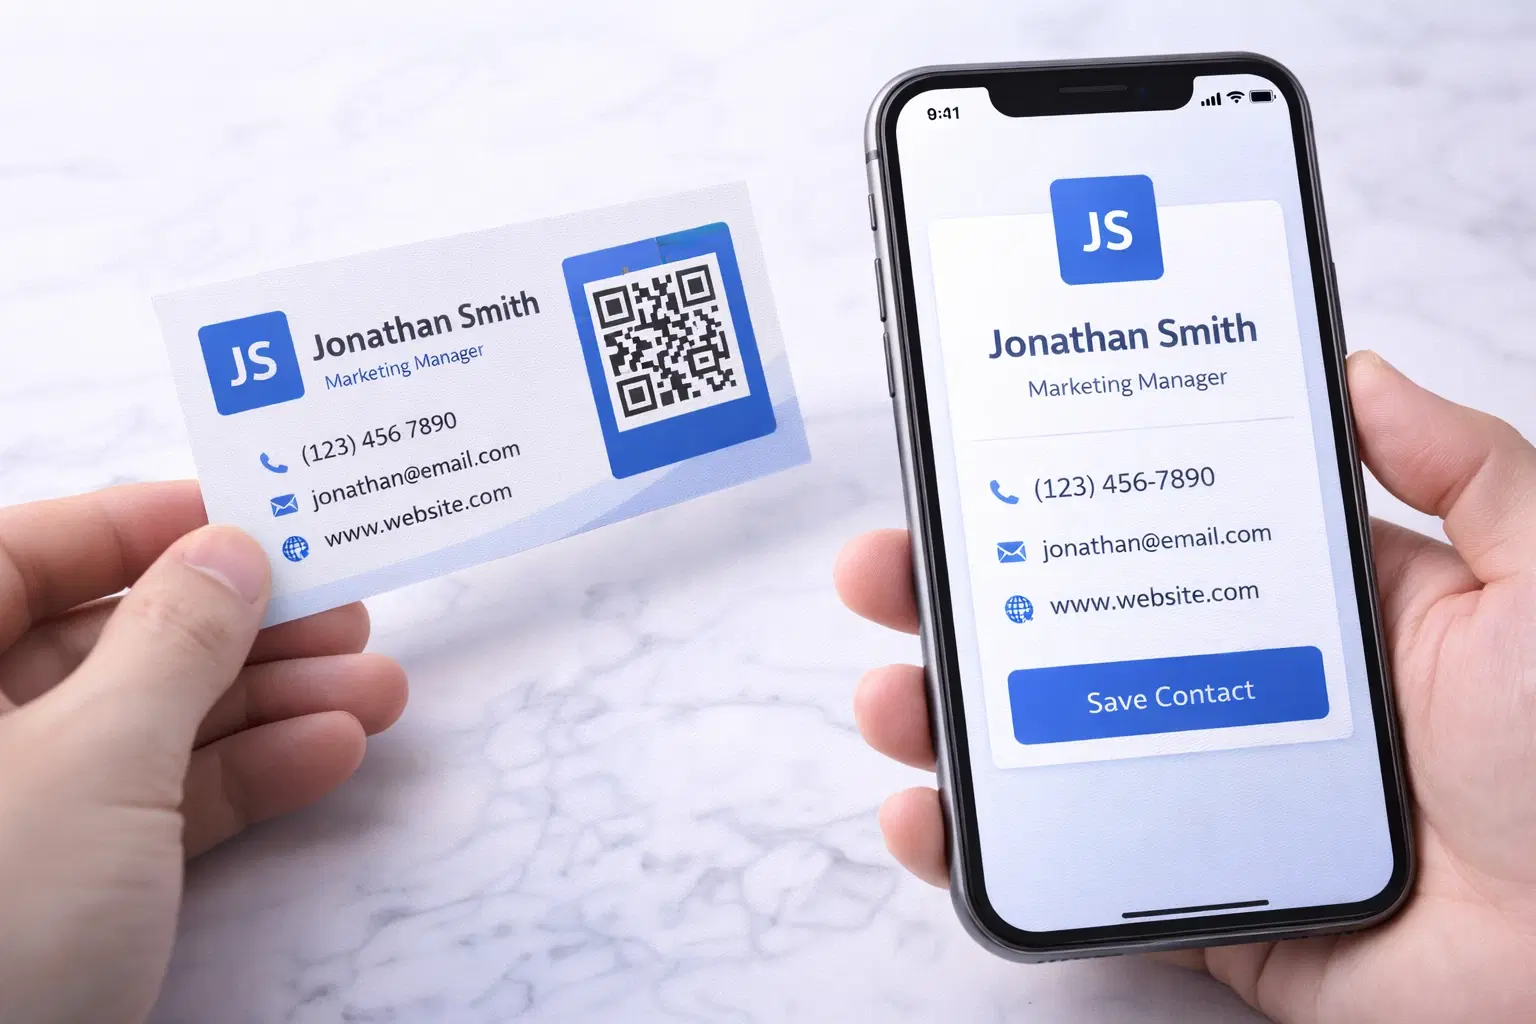
vCard QR Codes: The Complete Guide to Digital Business Cards (Updated 2026)
Create a vCard QR code that shares your contact info instantly, and updates itself when your job, phone, or email changes. Complete guide with placement strategy and networking scripts. Updated September 2026.
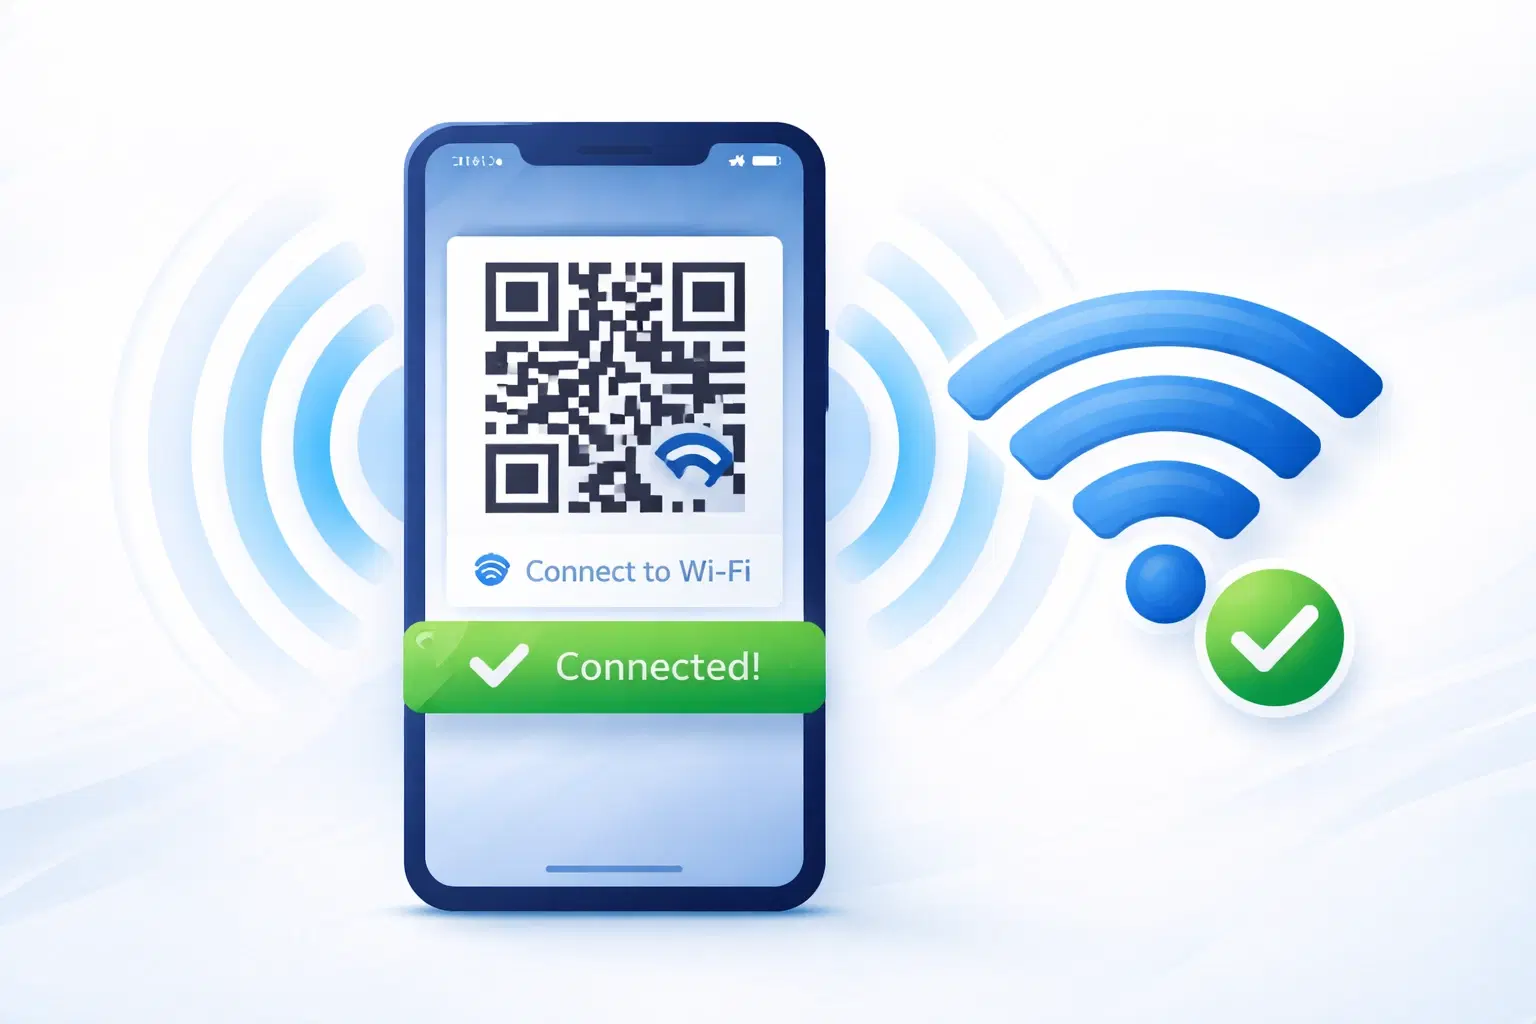
WiFi QR Codes: How to Share Your Network Password Instantly (Updated 2026)
Stop spelling out WiFi passwords letter-by-letter. WiFi QR codes let guests connect in seconds: for your home, café, hotel, or office. Updated 2026 setup guide with platform-specific instructions.

How to Set Up QR Code Check-In for Events: Step-by-Step Guide 2026
Replace paper lists and manual check-ins with a fast, contactless QR code system. Full setup guide for conferences, workshops, weddings, and corporate events.